The select checks method of processing and printing payables checks is a functional and efficient way of handling large check runs, running checks by vendor class, or by date due. Combinations of the criteria can be done as well.
To start the Select Checks processing, go to:
Transactions> Purchasing> Select Checks

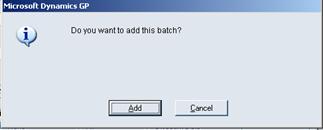
The Select Payables Checks window will appear. Enter a Batch Id. The Add a batch window will appear, click Add.
The Payables Batch Entry window will open. At a minimum, you will need to enter the Batch ID and select the Checkbook Id. This will control which checkbook you issue the payables checks out of. You are not able to select more than one account. You will have to open another Batch to process checks on another checkbook.
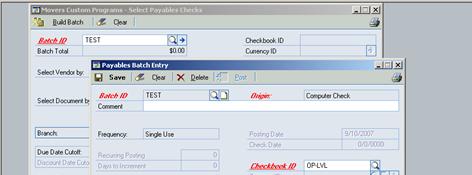
Click on Save and you will be returned to the Select Payables Checks Screen.
There are several areas of the Select Payables that you can set parameters on to limit the number of checks that will be built for your check run. You can use as many of them as you would like, or use the defaults and get everything!
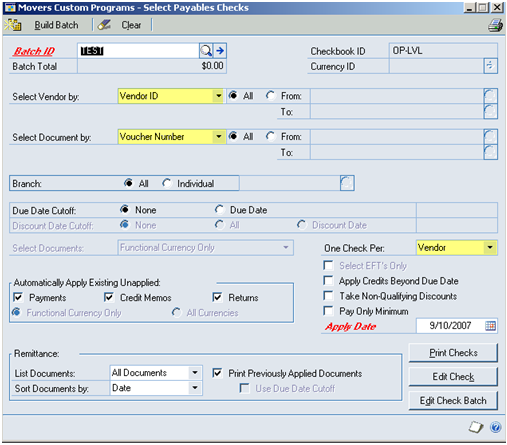

Select your Vendor by and then All or From (enter range).
Select Document by and All or From (enter range).
Select Branch, All or Individual. The magnifying glass will appear for Individual. Click on this and select branch.
Due Date Cutoff: None or Due Date. Due date is the Doc Date you put on the invoice when it was entered, plus any days based on payment terms. It will pull all documents up to that date.
One check per : Vendor or Invoice. Most people leave it as Vendor.
In the Automatically Apply Existing Unapplied Box: Be careful here. If you leave the payments, credit memos and returns marked. It will automatically apply these documents to any and all invoices it can for that vendor.
The Apply Credits Beyond Due Date, Take Non-Qualifying Discounts, and Pay Only Minimum – tend to be selections most of users do not use. If you should want to or need to use them, please check them accordingly.
Apply Date is for the Discounts.
Remittance: This area allows you to show what is on a Remittance or check stub.


Print Previously Applied Documents: If you select this option, previously applied documents, such as payments, credit memos, etc., will print on the Remittance Statement.
If you have used the Due Date cutoff, you can also select it in the Remittance window to show the documents previously applied that should print on the Remittance, prior to the Due Date.
After you have made your selections, you will need to build the batch. Click on the Build Batch, in the upper left corner.
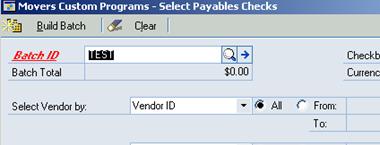
Once you click the Build Batch, the top corner will change to Add Batch. The Batch total will still be $0.00, until it is finished processing. Then the Batch Total field will populate with a number.
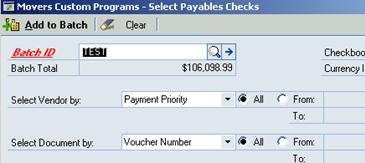
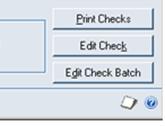
You have three choices of what to do now that the Batch is built. Print, Edit Check or Edit Check Batch. This is at the lower left of the Select Payables Check Screen.
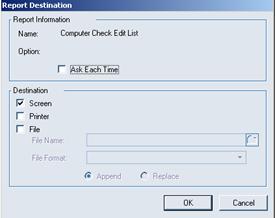
Before you do any editing or printing, run the Computer Check Edit List Report. Click on the printer in the top right hand corner.

Print to screen if you wish to review, or to printer for a final copy for your records. Click in the white box to select the destination. Click OK.
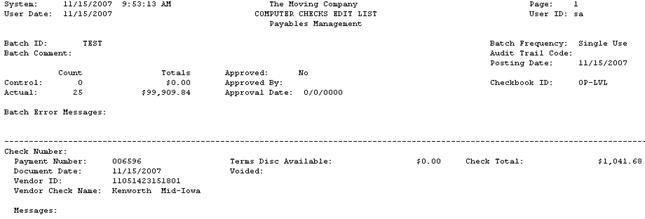 Sample Report
 Edit Check Batch