NOT IN USE: Reference only
Listed below is a summary of the setup areas needed to support the UniGroup International Interface followed by sections describing the setup in detail (setup arranged by generally accepted flow of operations):
Given below is a list of setup areas that need to be configured in steps, along with a recommended order. In addition to this, mappings documented within UniGroup International Data Mapping Setup may also be required.
1. Update Van Line Setup
2. Update Branch Setup
3. Update Agent Setup
4. Update Move Type Setup (optionally update Order Number Setup as well)
5. Update Personnel Setup and Region Setup
6. Update XML Interface Setup
7. Update XML System Setup
8. Update Tasks Setup
NOT IN USE: Reference only
STEP 1: Update Van Line Setup
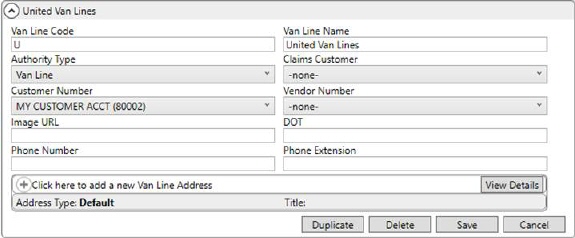
Setup Area: Van Line Setup
Establish a Van Line Setup record for United Van Lines. This record must have an Authority Type of Van Line and is referenced by the following setup areas:
Figure 4: Van Line Setup
STEP 2: Update Branch Setup
Setup Area: Branch Setup
Establish records to support UniGroup International. For these records, the Agent, Van Line, and Authority Type must be set on the order and the Agent must be a Sister Agent. Further, the Authority Type, Branch, and Van Line must also link to a XML Interface Setup record (refer to the XML Interface Setup instructions below).
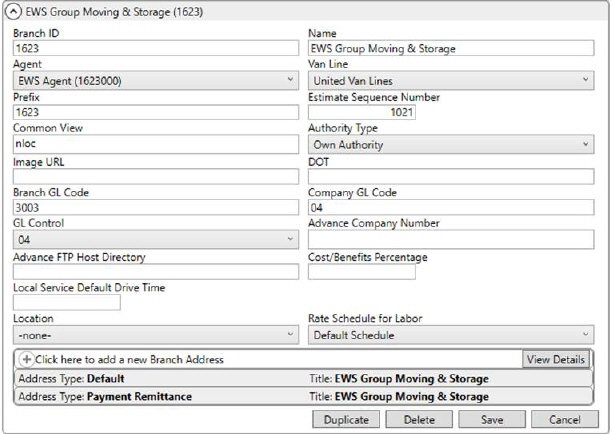
Figure 5: Branch Setup
STEP 3: Update Agent Setup
Setup Area: Agent Setup
Verify that Agent Setup (Sister Agent) records link to Branch Setup records to support UniGroup International, i.e., the agent on the order is assigned to the branch of the order.
Additionally, if the agent is also considered an international forwarder, then check the Is Forwarding Agent flag. This flag enables certain functionality such as automatic registration and uploads. For example, if the Booking Agent on the order is considered a forwarding agent, then changes made to all related data is included in an UniGroup International Upload.
Verify that the Haul Van Line Authority flag is also set.
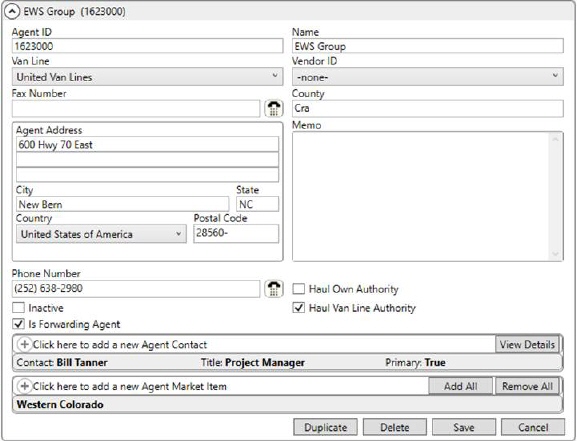
Figure 6: Agent Setup
STEP 4: Update Move Type Setup
Setup Area: Move Type Setup
Enable automatic registration of newly booked International Orders records by setting the International Auto Register flag for appropriate Move Type Setup records. Additionally, establish format specific to your needs through the Order Number Style setting (Order Number Setup).
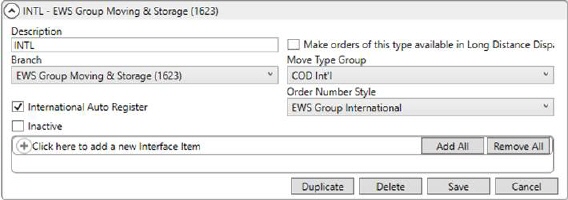
Figure 7: Move Type Setup
STEP 5: Update Personnel and Region Setup
Setup Area: Personnel Setup & Region Setup
The UniGroup International Upload process requires personnel that register and update orders in MoversSuite to also be linked to UniGroup International. The system needs this information to track data changes, i.e., to identify the person registering or updating the order; information on the user is included with every UniGroup International Upload. This link is established by creating an Interface record within the Interface Mapping tab in Personnel Setup record and providing the User Name, which is the user identifier within UniGroup International. NOTE: The Password is not required by UniGroup International at this time.
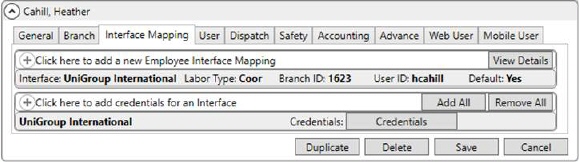
Figure 8: Interface Mapping tab within Personnel Setup
When you add an Interface record, the Credentials option appears. This allows you to enter the UniGroup International identifier for the employee.
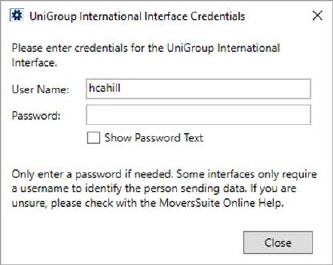
Figure 9: UniGroup International Interface Credentials dialog
Additionally, the Transportation Coordinator on the order is referenced by the UniGroup International Upload process to identify the region. Therefore, regional coordinators must be defined with a Labor Type of “coor” within their Personnel Setup record. Establish Region Setup for each supported region and assign regional coordinators as Employee Items as needed. Provide the region code supported by UniGroup International as the External Code on each Region Setup record.
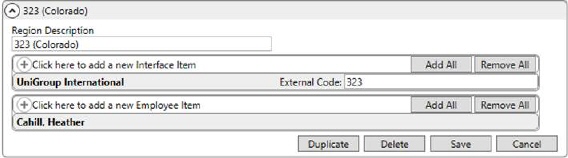
Figure 10: Region Setup
To process UniGroup International requests to download and upload data, you must have at least one record UniGroup International module record linked to your Security Profile Setup record.

Figure 11: Security Profile Detail record for UniGroup International module
Since you must be in the International Orders module to process an UniGroup International order, you must also have access to the International module for supported branches.

Figure 12: Security Profile Detail record for International module
View the Security Modules topic for more information.
STEP 6: Update XML Interface Setup
Setup Area: XML Interface Setup
Establish a vendor for UniGroup International within XML Interface Setup. Link this setup record with branches and van lines that you wish to support the UniGroup International system.
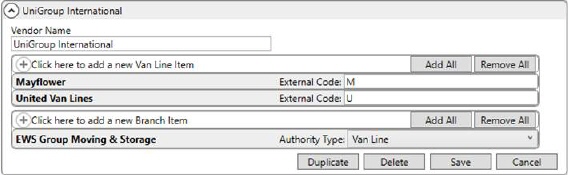
Figure 13: XML Interface Setup
To enable UniGroup International functionality, the order must associate to a branch, van line, and authority established within one of the XML Interface Setup records.
STEP 7: Update XML System Setup
Setup Area: XML System Setup
Establish an XML System Setup record for the UniGroup International Interface. Establish Internal System and External System settings with the same name.
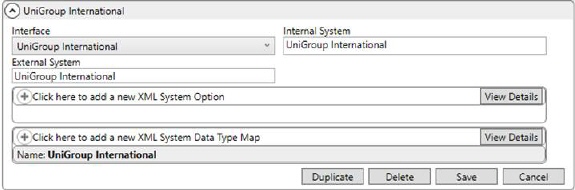
Figure 14: XML System Setup
Additionally, create a single XML System Data Type Map for UniGroup International. Specify an XML System Data Type Map for Order Information and check the Clear previous XML errors before processing flag.

Figure 15: XML System Data Type Map dialog
STEP 8: Update Tasks Setup
Setup Area: Tasks Setup
You can utilize the Tasks System to create a workflow for UniGroup International orders. Tasks are to-do items assigned to order personnel that are based on key shipment dates. Many of the dates available for UniGroup International are available as Task Dependency Dates.
View the Task Dependency Dates topic for a list of date fields and refer to Tasks Setup and Administration for implementing tasks.
NOTE: Additional setup is also required, depending on your company configurations. Please refer to UniGroup International Data Mapping Setup for a list of additional requirements.
STEP 8: Update Shipper Email Type Setup
Setup Area: Shipper Email Type Setup
To support exchange of multiple shipper email addresses, users need to setup an external code in the Shipper Email Type Setup. For that purpose, while defining a Shipper Email Type Setup record, attach an interface item of ‘UniGroup’ with the external code ‘DEFAULT_EMAIL’.
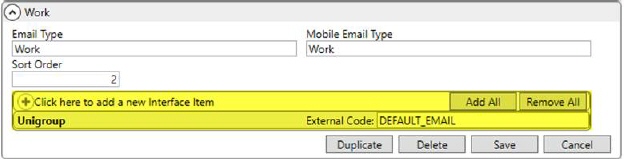
Figure 16: Shipper Email Type Setup