SmartList is a querying tool of Dynamics GP. The results of the query can be exported to Excel, Word or printed for use. Also the items that display from the query can be double-clicked on and Dynamics GP will open the window in the series that holds the information.
To build a SmartList for finding 1099 transactions and 1099 Vendors, start by opening SmartList. It is a lightbulb icon under Reports on the menu bar. Click on this.

Once open, SmartList will display folders on the left side of the window. The right side is used for displaying the results.
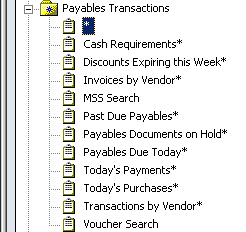
Find the Payables Transactions folder and click on the plus sign next to the folder. The expanded folder will display the contents and there should be a “*” and other queries with titles and “*”. Any prebuilt query in Dynamics GP will have a“*”.
Click on the “*” to run the query. This query will display results on the right side of the window. This window will need to be modified to show the 1099 amounts.
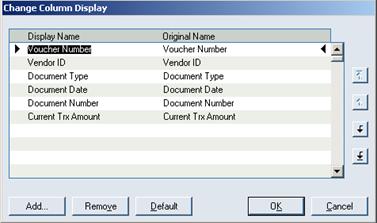
At the top of the SmartList is a menu. Click on the Columns. This will allow the query to have information added or removed. The Change Column Display window will open.

Click on the Add button in the lower left.
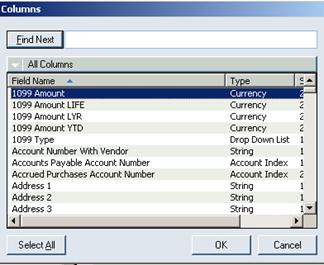
Another window will open, this is the Columns that are available by the series that is being worked in. Under the “Find Next “ button, click on the White down arrow to display the All Columns. The first field name is 1099 Amount. Highlight this and click on OK.
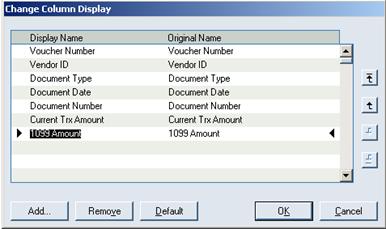
The Change Column Display Window will now show the 1099 Amount.
Click OK.
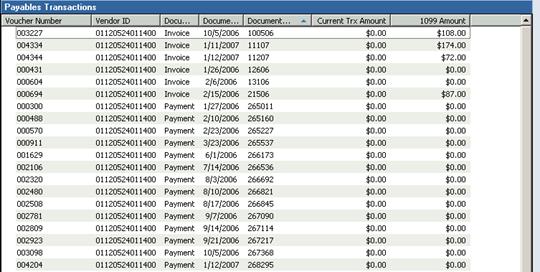
The Results window will refresh and display the new column.
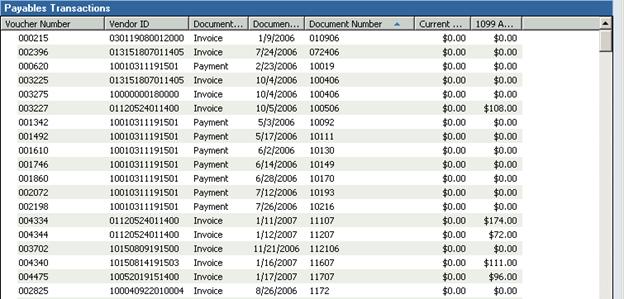
To save this query, click on the Favorites on the SmartList Menu. It is a Blue Folder with a yellow star.

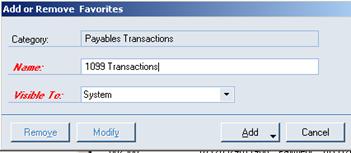

Give the query a name, click on Add. The dropdown will give you two choices – Add Favorite or Add Favorite and a Reminder. Use the Add Favorite.
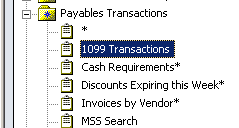
The new query will display under the Payables Transaction Folder.
To find a specific Vendors Transactions, click on Search.

In the Search Payables Transaction window, click on the magnifying glass to bring up the Vendor ID. Leave filter as “is equal to” and type in the vendor id. Click OK in the lower right. Up to four search definitions can be added to the query.
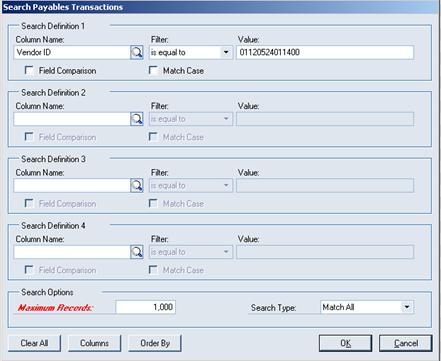
The query will display just the records based on the search criteria.
 To see what Vendors are setup as 1099