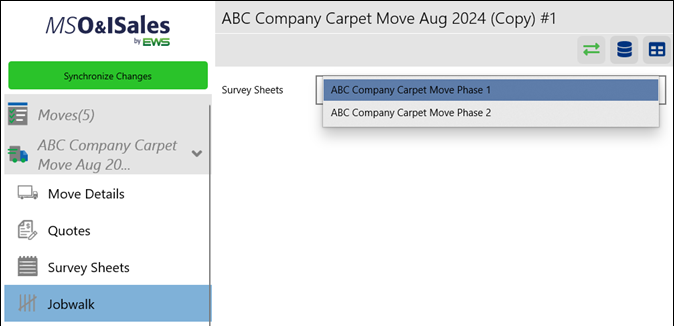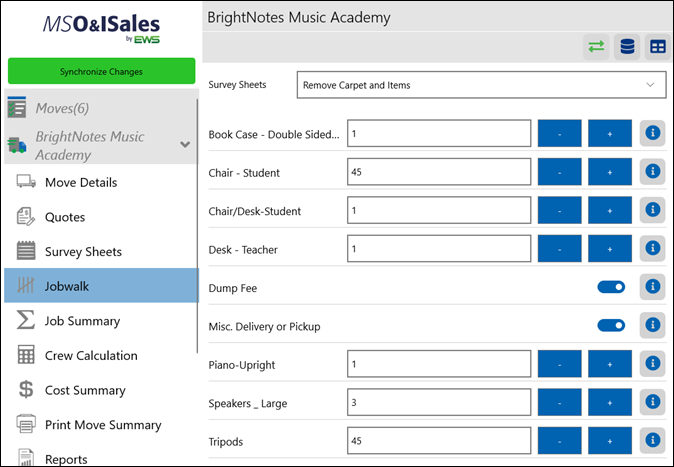
Setup Area: Moves > choose an opportunity > Job Walk
Use Job Walk to create an inventory list of all items included in the move.
First, choose the appropriate Survey Sheet for the area to be surveyed. Options available are the Survey Sheets entered within MSO&ISales Survey Sheets.

To view a Custom Inventory sheet, click on the Table button
 at the top right of the
screen. A new box will generate > choose the desired Custom Inventory list
> Add items to the survey sheet either by entering a number next to the
inventory item, or by clicking the + / - buttons.
NOTE: Admins can manage options within MSO&ISales Master Data and MSO&ISales Custom Inventories.
To view the full Master Data sheet, click on the cylinder
button  at the top right of the
screen. A new box will generate > Choose the desired Group > Add items to
the survey sheet either by entering a number next to the inventory item, or by
clicking the + / - buttons. If items are needed from different groups, just
click a group to select items. Click
  again to select another group
and continue to select items.
TIP: If moving items out of a place and then moving the same items again – either back to the same place or another place, complete the Job Walk for the removal first. Then return Survey Sheets and duplicate the first phase. All items added during the Job Walk can be chosen to list on the Survey Sheet of the second move which will list the same items.
To view only the survey sheet items, click on the green back
and forth arrows  . This option
also allows you to navigate from one survey sheet to another.
•Red Font indicates that items have Auto Included items/labor associated to the inventory item. To view the details, click on the “circled i” button to the right of the inventory item. These auto-included items can be adjusted/edited for this specific move opportunity by clicking on the auto include > adjust the quantity or time > click the check button.
•Black Font indicates that items do not have an auto included item/labor associated to the inventory item.
•To adjust the cube and/or name of any item > once a quantity has been added > Click the “circled i” button adjust the name and/or cube of the item > click the back button “<” at the top of the screen.
