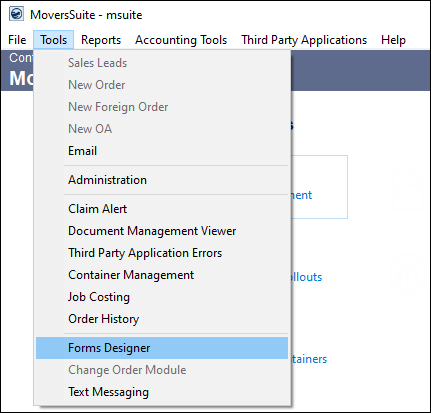
Tools Menu > Forms Designer
The Forms Designer system allows you to create document templates containing MoversSuite order data. You then reference these document templates through various report functions to generate letters and email messages.
The Forms Designer system provides a template tool through the Tools Menu.

Figure 1: Form Designer listed under Tools Menu
Choosing the Forms Designer option opens the Forms Designer Templates screen. From this screen, you create, copy, edit, and remove document templates.
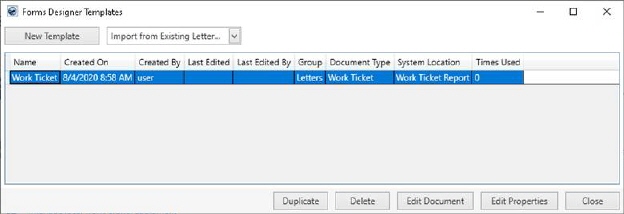
Figure 2: Forms Designer Templates screen
Managing Forms Designer Templates
When editing or creating a template, the Letter Designer provides you with the basic text editing tools. Included in this list of tools is the ability to change the text format, alignment, page layout, etc.
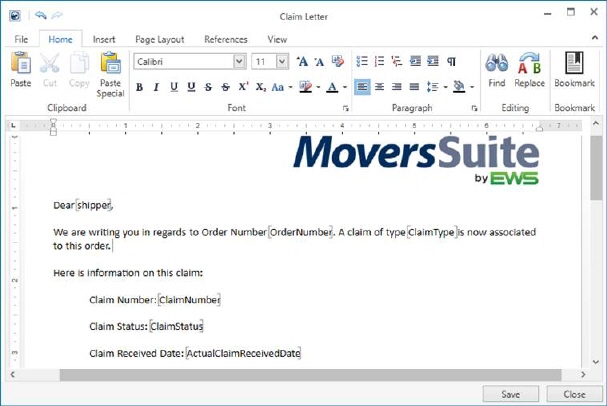
Figure 3: Letter Designer window
There is also a Bookmark option allowing you to insert MoversSuite data directly into the document.

The Insert Bookmark dialog allows you to locate and insert a bookmark into a document.
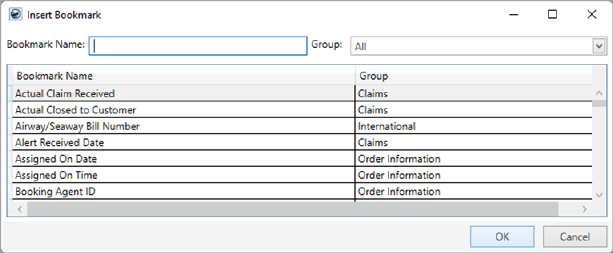
Figure 4: Insert Bookmark dialog
Once you find the bookmark, select it and press OK and the application inserts the bookmark into the document. The bookmark appears as a tag the document encapsulated in brackets. The format of the bookmark tag is the bookmark name followed by the group the bookmark lists under (in parenthesis) all enclosed in brackets (see the example below and Fig. 2 above).
[ Bookmark Name (Bookmark Group) ]
All editing and format rules associated to the document apply to the bookmark tag as well.
Note: The application interprets the first character of the placeholder text to determine the font applied to the replacement text when a document generates based on the template.
You can insert the same bookmark tag multiple times in the same document.
You can assign a bookmark to text within your template. This is helpful if you are short on space, such as working within a table with many columns. To assign a bookmark to text, simply highlight the text, the phrase “Any word” is shown highlighted below, and right click to use one of the Insert Bookmark features to link the text to a bookmark.
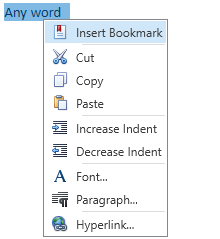
Figure 5: Link bookmark to text
The text linked to the bookmark is enclosed in brackets.

Letter templates are stored within the MoversSuite database and the application references them through the Reports system as a MoversSuite Letter type document (refer to the Report Type field description within Report Setup). Administrators must update the Report Profile Setup in order to grant permission to run the report.
Generating Documents and Emails Using Templates
When you run this report through various report options in MoversSuite, such through the Letters category on the Reports Menu, the application replaces the bookmark tags within the document with the data from the order.
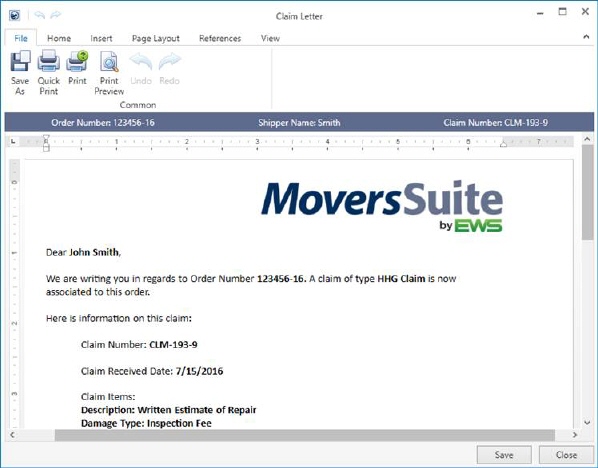
Figure 6: Letter document rendered as a report
Options from the output document allow you to update the text of the letter.
Additionally, the output generated includes additional File options allowing you to save and print the document.

Figure 7: File options within output letter viewer
MoversSuite allows you to have multiple documents open at a time, therefore the application displays order record data to assist you in managing these documents.

Figure 8: Record information bar from output letter document
The order information displays based on which MoversSuite module the document generates.
Upon pressing  from the output letter window, the
application stores a copy of the letter within the Document Management system for the order.
The ability to generate a template as a document or as an email is available through the Reports Menu.
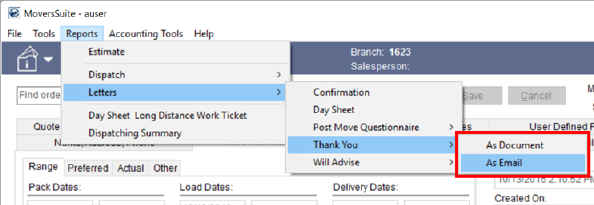
Figure 9: Reports Menu
It is also available through the Reports/Letters menus found on the Quote tab and within Claims. Refer to the System Location setting within the Forms Designer Template Properties topic for details.
Choosing As Document opens the letter through the Forms Designer system.
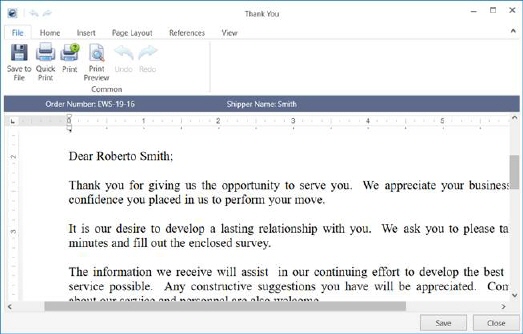
Figure 10: Sample Forms Designer document
Choosing As Email opens the letter within a new MoversSuite Email window.
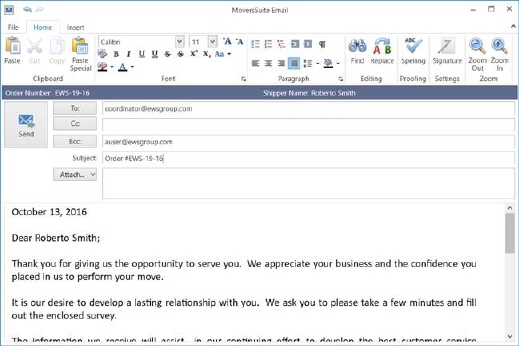
Figure 11: Sample Forms Designer email
Note: While composing an email, remember to use Shift+Enter keys to move to the next line instead of using the Enter key. This should be done to avoid extra lines from adding up in the mail which might not be visible while sending but can be seen on the received mail.
RELATED TOPICS: