
This section describes the setup necessary to enable the Text Messaging functionality.
PREREQUISITES
Text Messaging is an optional, add-on module that must be purchased through EWS Group. You must also establish an account with Sakari. Please contact your account representative or the EWS Sales Team for more information.
If you wish to track and manage messaging through separate branches, then you will need to also establish separate service accounts with Sakari. In which case, you would also need to define additional accounts within Sakari Account Setup and subsequently assign them to individual branches through Sakari Account Branch Setup.
Once you have your company Sakari account(s) established, contact your EWS Group account representative or open a Help Desk case to initiate the setup of Text Messaging.
STEPS
Follow these steps to enable Text Messaging functionality on your system:
1. Link MoversSuite to your Sakari account(s) through Sakari Account Setup.
2. Define which branches you wish to support messaging through Sakari Account Branch Setup.
3. Updating polling settings and optionally perform a manual sync of data with Sakari; occurs automatically based on the Polling settings within Sakari Options.
4. Update Security Profile Setup records to grant personnel access to Text Messaging functionality.
STEP 1: Establish Sakari Account Setup record(s)
Setup area: MoversSuite Administration > Administration > Sakari Account
Use the Sakari Account Setup to link MoversSuite to one or more Sakari accounts.
Figure 40: Sakari Account Setup
When establishing a new account, enter the Account Name, which can be anything you like. When you press Add to save the record, the application sends the information to MoversConnect to validate that the system is communicating correctly.
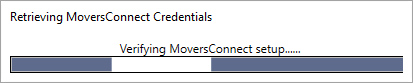
Figure 41: Verification Progress Indicator
Once verified, you are prompted to set the following attributes provided by Sakari:
•Sakari Account ID
•Client ID
•Client Secret
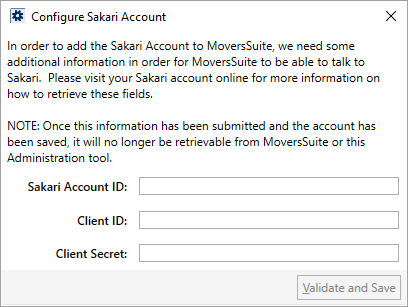
Figure 42: Configure Sakari Account dialog
Prior to press Validate and Save, double-check the information you entered, since you can only perform this step once.
Once validated, the Account ID is associated to the record.

Figure 43: Sakari Account Setup
STEP 2: Add Sakari BranchAccount Setup records
Setup area: MoversSuite Administration > Administration > Sakari Account Branch
Use the Sakari Account Branch Setup to link Sakari accounts defined in Step 1 to branches. Text Messaging is only available to orders associated to branches linked to a Sakari account.
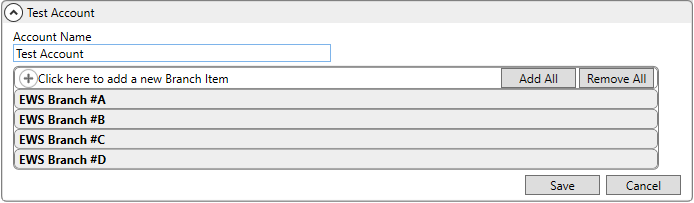
Figure 44: Sakari Account Branch Setup
STEP 3: Verify Sakari Options
Setup area: MoversSuite Administration > Administration > Sakari Options
Verify and update the settings within Sakari Options. The polling options determine how often the application checks for a new message and how often to check for updates while working within the Text Messaging Conversations dialog. The image below displays the default polling rates.

Figure 45: Sakari Options
Refer to the Sakari Options topic for field details.
STEP 4: Update Security Profile Setup records
Setup area: MoversSuite Administration > Personnel > Security Profile
Enable personnel to use functionality by setting the Sakari Text Messaging module for all supported Security Profile Setup records.
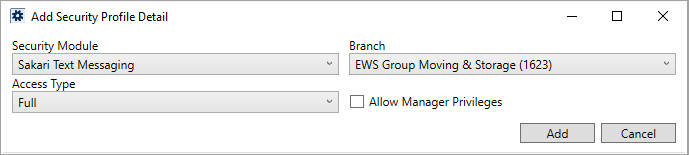
Figure 46: Security Profile Setup
Only one record needs to be established on a profile to enable the functionality for all branches. In other words, the application ignores the Branch, Access Type, and Allow Manager Privileges settings.
In the MoversSuite Administration tab, use the Sakari Template Setup option to create templates to be used in Text Messaging.