MoversSuite Administration > Administration > Quote Status
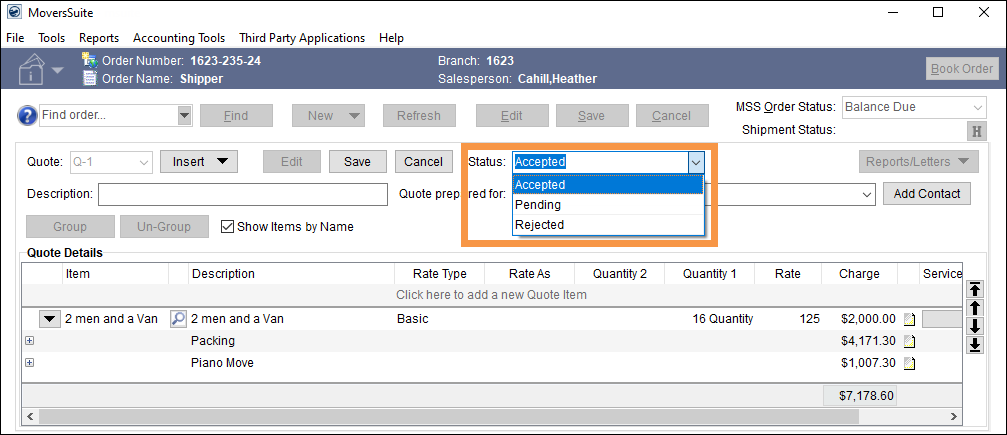
Use this setup to define the Status values available to quote records within the Quote tab. In the image below, the options are: Accepted, Pending, and Rejected.

Figure 36: Quote Status options are set within Quote Status Setup.
To create a Quote Status option, go to MoversSuite Administration > Administration > Quote Status Setup. From the top of the screen, click Click here to add a new Quote Status.

This opens the New Quote Status screen. Enter a name for the Description and click Add. (Of note, the Is System Type checkbox is detailed within the Technical Table below.) Once added, the new Quote Status Setup record is added to the list within Quote Status Setup and as an option under Status within a quote’s details.

Figure 37: New Quote Status screen
Technical Field Information
The following table describes the fields and functions within this setup:
|
Field |
Description |
|
Description |
Enter the text description of the status assigned to a quote through the Status field within the Quote tab (up to 128 characters). The status describes the state in which the quote is in as it relates to processing.
The following are the standard, provided Status values available to your company: Accepted* Copy** External Download Pending** Rejected
*The Status of “Accepted” allows quotes to show as available within Revenue Import. **The Status of “Pending” is the default status set for all newly created quotes, except for duplicated quotes which have a status of “Copy.”
|
|
|
This box is read-only: boxes cannot be checked or unchecked by users. Records with this checked are required by MoversSuite and cannot be deleted. To show all records that have this box checked, click the Mass Record Selection Options arrow in the top right of the screen and choose “Show All Records.” |