Given below is a list of setup areas that need to be configured for a successful Generic Revenue Import, along with a recommended order.
PREREQUISTE:
•You must have and be using Microsoft Dynamics GP for processing accounting transactions.
STEPS:
1. Verify that EWS Group has provided your company the Generic Revenue Import module.
2. Establish one or more import interface records within XML Interface Setup.
3. Link MoversSuite Item Codes to transaction item identifiers (ItemId) to each supported interface within XML System Setup.
4. If you wish to auto-commission salespeople on imported items, then create mapping to the Generic Revenue Import interface within the Interface Mapping tab of Personnel Setup.
IMPORTANT:
In addition to the steps above, users must have appropriate security access to supported branches for the Revenue Entry security module. With appropriate access, they can select branches within the Generic Revenue Import and view the order record through the Revenue Entry module.
STEP 1: Verify Generic Revenue Import Module is Available
Contact EWS Group and confirm that the version of MoversSuite that you are on has the Generic Revenue Import module enabled. Refer to Security Modules for more information.
STEP 2: Update XML Interface
Setup Area: XML Interface Setup
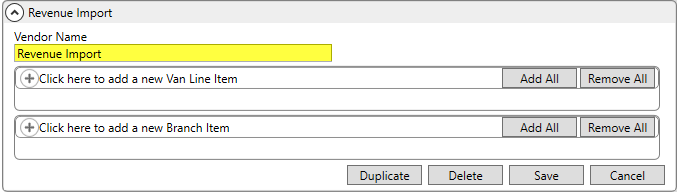
Create one or more interface records for each import type you wish to support. For example, you can create a separate interface for each warehouse and then import items only for that interface. Establish one or more records with a unique Vendor Name within XML Interface Setup.
Figure 12: XML Interface Setup
STEP 3: Update XML Item Code
Setup Area: XML Item Code Setup
For each supported interface, you must create mappings for each imported item. Each imported type, identified within the ItemId column of the import file, must match to a MoversSuite Item Code.
For each defined import interface, create a record for each supported ItemId (refer to Generic Revenue Import File) and link to a known Item Code. To avoid mapping errors when importing, verify that the selected Item Code maps to the supported Branch, Move Type, Authority, and Commodity as specified within the Generic Revenue Import window when importing items.
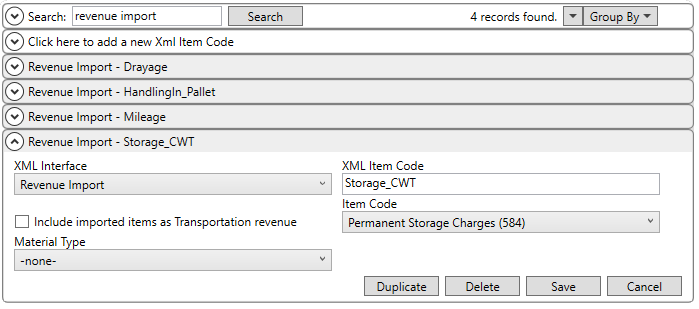
Figure 13: XML Item Code Setup
STEP 4: Update Personnel
Setup Area: Personnel Setup
If you wish to auto-commission salespeople for items imported, then create records for each supported interface being imported within the Interface Mapping tab in Personnel Setup.
Set the Interface to the appropriate import type and set the User ID to match what is included for Sales Person (refer to Generic Revenue Import File) within the import file.

Figure 14: Add Employee Interface Mapping screen
Optionally, you can define similar records for each Branch or choose to define a single record and check the Use as default when Branch not defined flag.