Note: This functionality is available at ATIP 11.0.12.
The functionality has been added to select invoices for multiple branches during the select checks process.
The following procedure illustrates how to associate multiple branches to a Checkbook.
1. Login to Microsoft Dynamics GP
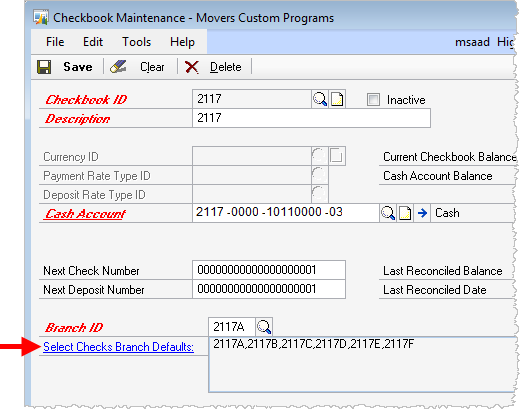
2. Open the Checkbook by Cards > Financial > Checkbook (opens the Checkbook Maintenance screen)
3. Select the appropriate Checkbook ID
4. Click on Select Checks Branch Defaults and the Branch Lookup dialog will appear
Figure 55: Checkbook Mainteance Screen
5. Check each Branch in Branch Lookup that will be associated to the Checkbook
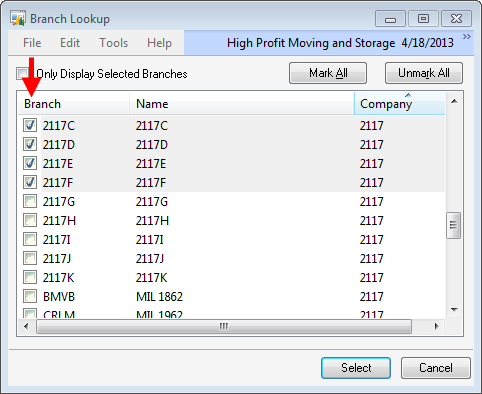
Figure 56: Branch Lookup dialog
6. Press Select to keep the changes
7. Click Save to record the changes made within the Checkbook Maintenance screen
The selected branches will also be available through the Select Payables Checks screen (see see Select Payables Checks Process).