
The Report Manager allows users to add custom Reporting Services reports or to update existing ones. The process below describes how the Report Manager can used to upload a report file in a report server.
|
Important |
|
The files must be defined as a Report Definition Language (RDL), aka Report Definition File, file in order to be uploaded into Reporting Services. Special procedure files and related database changes that may need to accompany the file must also be in place prior to executing the report. |
Uploading Reporting Service Reports using Report Manager
1. Open a web browser, such as Microsoft Internet Explorer, from a computer that has sufficient privileges to access the company’s report server,
2. Enter the URL that opens the Microsoft SQL Server Reporting Services Report Manager application hosted on the company’s report server. Typically, the URL format is http://report server/Reports$instance/, where the red italicized settings are specific to a user’s system,
Figure 19: Sample URL to access Report Manager
The SQL Server Reporting Services screen will appear,
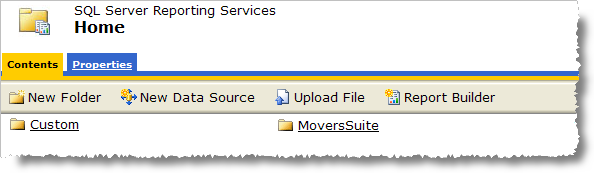
Figure 20: Report Manager screen
3. Open and access the folder in which the uploaded report will reside. Note: The New Folder option can be used to create a separate locale for reports,
4.
Click on Upload File ( ) and the Upload File screen will appear,
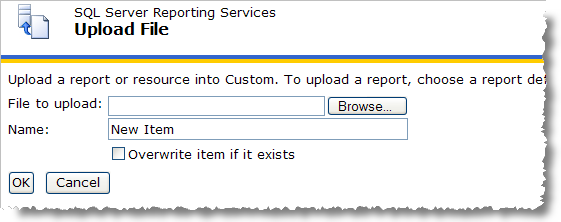
Figure 21: Upload File screen
5. Press Browse to locate the RDL file using the Choose File utility,
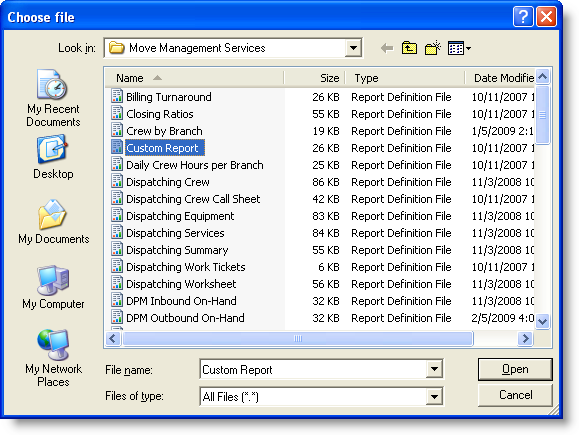
Figure 22: Choose File window
6. Select the correct report and press Open and the file name will be painted in the File to upload field,
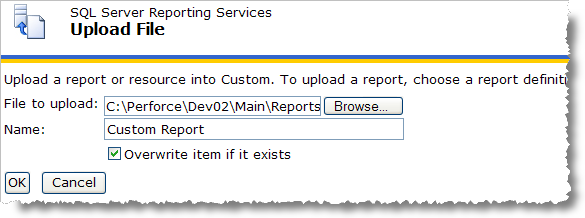
Figure 23: Report Manager Upload File screen
7. Select the Overwrite item if it exists. This option instructs the application to replace an existing version of the report existing in the report server,
Important:
If this option is not selected and the report already exists on the server then the new file will not be uploaded.
8.
Press OK and the report will be inserted into the open folder.
Reports inserted into the report server since the last server update will be
flagged with a  flag,
flag,
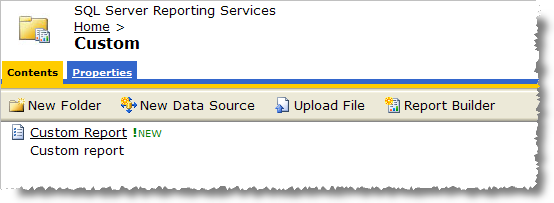
Figure 24: New report sample
Verify the report properties:
9. Click on Show Details and the screen will display the Edit options,
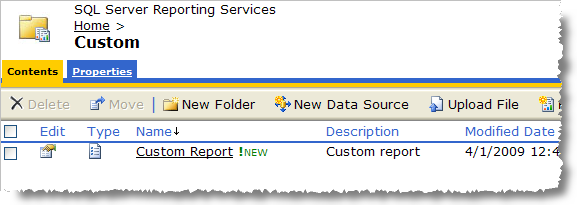
Figure 25: Show Details
Tip:
Using the Show Details option will enable the Delete and Move options.
10.
Press Edit ( ) to
access the report Properties,
) to
access the report Properties,
Make adjustments within the General, Parameters, Data Sources settings as needed.
Important:
Press Apply on each screen to ensure that the changes are committed.
Often a new report will need to have the data source updated in order to view the report. A report with an invalid data source will return the following error when viewed: “The report server cannot process the report. The data source connection information has been deleted. (rsInvalidDataSourceReference)”
Update a data source:
a. Open the Properties tab,
b. Select Data Sources option,
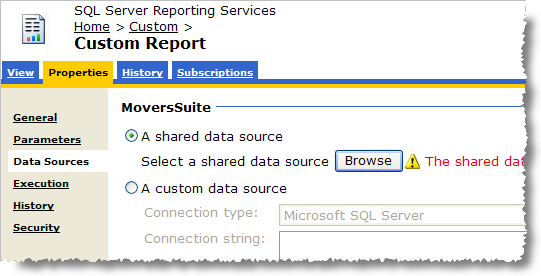
Figure 26: Data Sources > A shared data source setting
c. Check the A shared data source option,
d. Press Browse and the screen will list the directory of the report server,
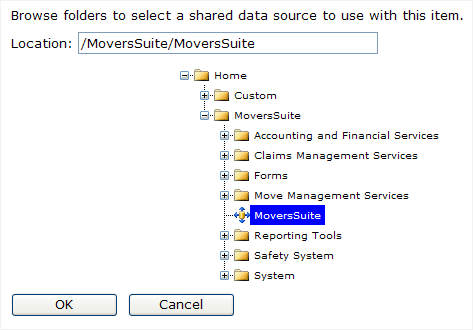
Figure 27: Data source selection
e.
Select the appropriate data source (denoted by  ),
),
f. Press OK and the selected data source will appear as the shared data source,
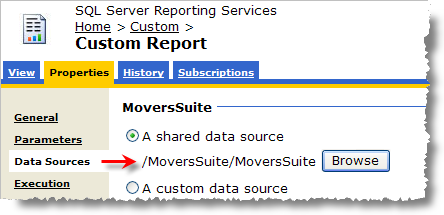
Figure 28: Specified data source
g. Press Apply (bottom of screen) to commit the changes. The report will now reference this data source when executed.
11.
Click on the View tab to execute the report and view its
output.
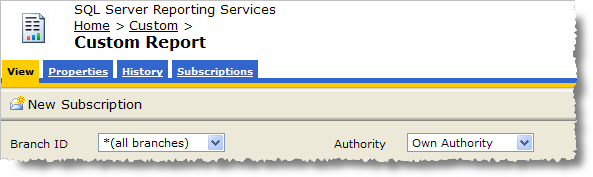
Figure 29: View tab
Reports loaded into the report server will be accessible to MoversSuite. Refer to the Reports Setup and Administration section to understand how to link a Reporting Services report to a MoversSuite menu item.