This process describes the best practices to create an order from lead.
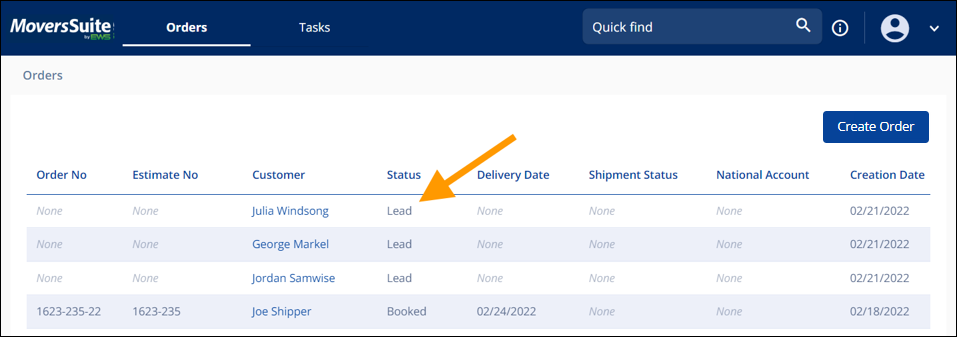
1. Locate the Lead from your Orders List or from the Quick Find. If you were assigned to the lead so that the lead appears on your Order List, sort the Status column to alphabetize the Status column by status. This will group all entries with Lead as their Status. Find your Lead and click anywhere on that line.

Figure 45: Order List showing Status
2. You will be directed to the Order Story of this entry. Click Move Information to go to the Customer Contact information card. If you just created a Lead and saved, you will be guided to the Order Story directly.
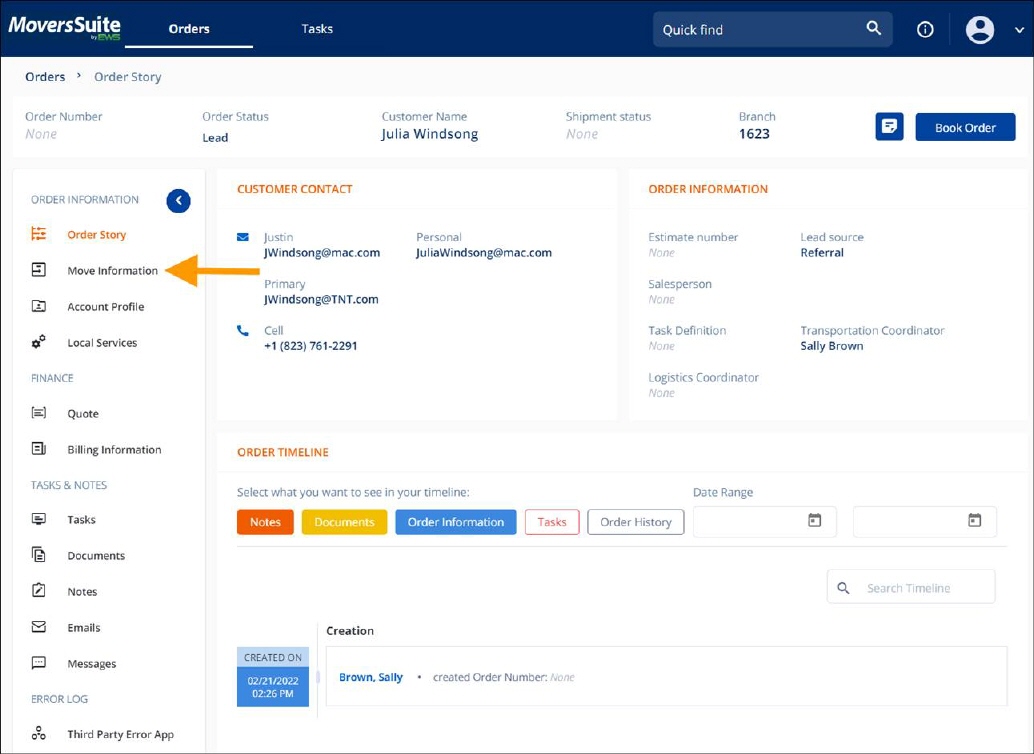
Figure 46: Move Information on Navigation Bar
3. Update or edit the CUSTOMER CONTACT card with any additional information. Edit by clicking a field (or the area next to the field name). Contact Preference is clicked in the Fig. 35. It currently is set to Text Message and needs to be updated to Email. So, click the edit button, which is the blue pen.
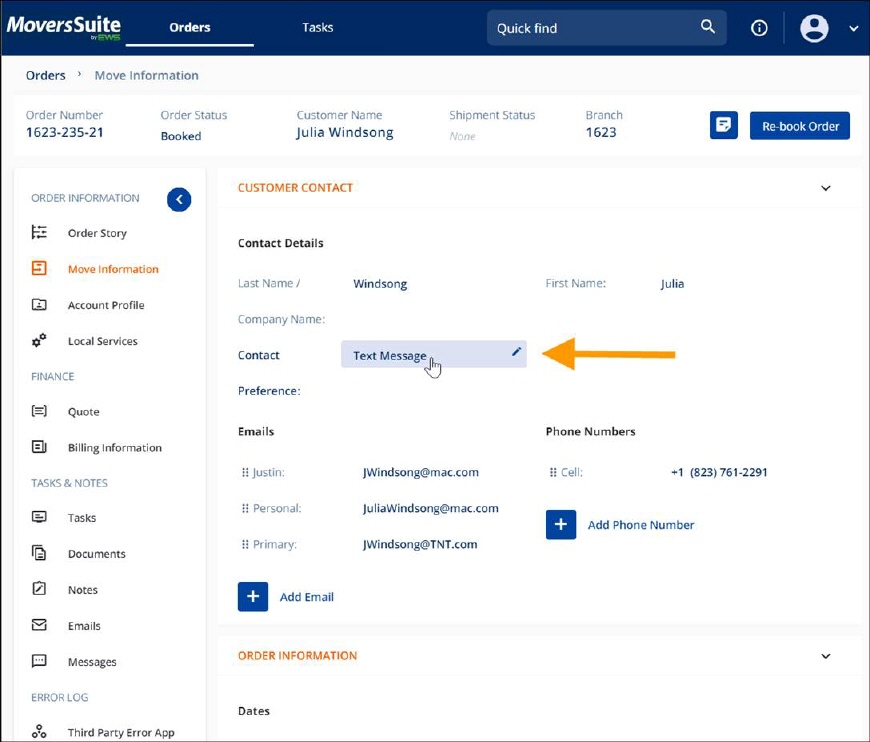
Figure 47: Contact Preference being edited
4. Use the dropdown to pick the preference and then click the green check to save. (Fig. 36)
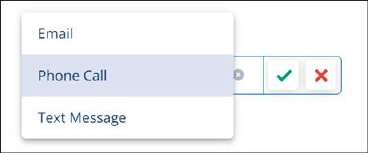
Figure 48: Contact Preference Dropdown Selector
5. Continue entering information in ORDER INFORMATION. Click through the fields using the Tab button or point and click using the mouse.
6. Continue through CUSTOMER CONTACT until all information you have is entered. Use the collapse or expand arrows as necessary as well as scroll.
7. Enter your name in your role to have this order shown on your Orders List on the MSWeb Homepage.
8. Enter Task Definition. Continue with any additional fields.
9. Click Book Order to save as an order. The Book Order Information screen, shown below, confirms the Book Order action and requires the fields listed to be completed before clicking Save. Make sure to notice and click the appropriate year option. This Year is the default. Click Save.
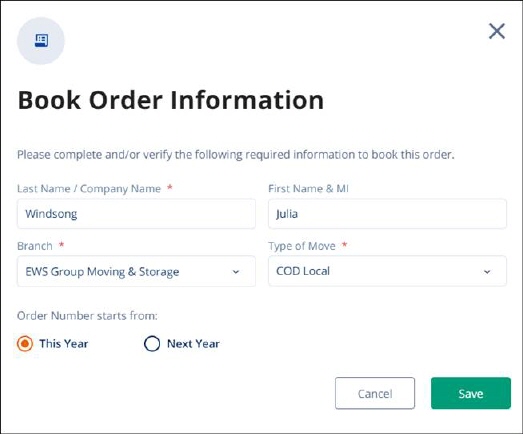
Figure 49: Book Order Information
10. Once the order is saved, the order will be issued an Order Number and the Status is changed to Booked.