The “Active Databases for Archived Documents” section of the Document Storage Management Setup screen lists all the active documents databases that you can archive the documents to. Whether you are using the feature for the first time or if you have deactivated any existing databases, you will need to have at least one active database to archive the documents to.
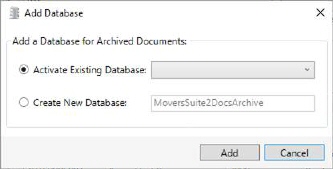
For that purpose, simply use the “Click here to add an active Document Database” button. You will get a prompt letting you choose between:
1. Activate Existing Database
2. Create New Database
Figure 34: Add Database prompt
If you are using the feature for the first time, you can choose the “Create New Database” option and name it as you wish. You can use the standardized nomenclature as hinted in the field.
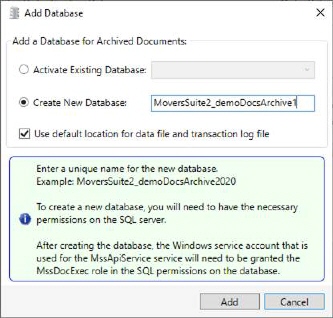
Figure 35: Add Database prompt
|
Technical Notes for ‘Add Database’ prompt |
|
•This is a data-sensitive feature and if you don’t have adequate system privileges, you will have to consult your SQL administrators to build an archiving database for you and have it linked through this feature. •The application uses the Windows login credentials of the admin user to determine their security level. •Moving or removing data does not remove the memory allocated and the databases should be compressed after archiving or purging. •For Azure customers, it is recommended to open a Help Desk ticket for our Technical Team to build them an archiving database. |
Upon selecting the “Create New Database” option, a flag by the name of “Use default location for data file and transaction log file” appears on the screen dynamically. If you keep this flag checked, the new database will be created at the default storage location for Microsoft SQL Server Management Studio.

Figure 36: Add Database prompt
In case you want to store the database file at a different location, uncheck the flag and provide the custom Data File Location and Log File Location.
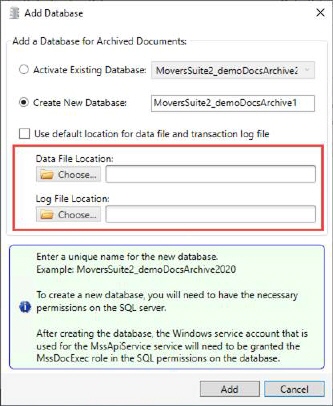
Figure 37: Add Database prompt
After providing a valid name, press ‘Add’ and the newly created database will be added to the list of Active Databases for Archived Documents.
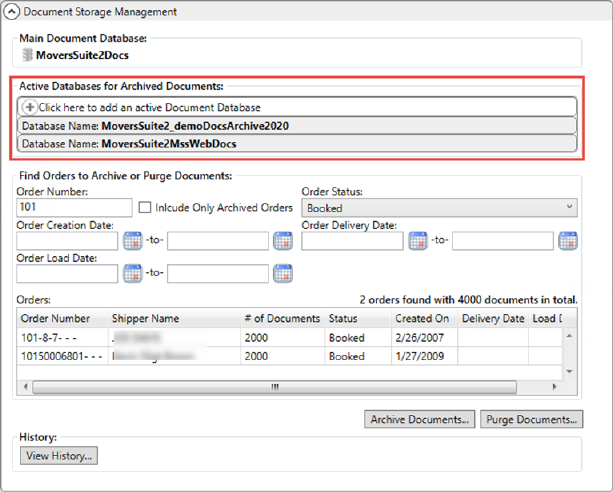
Figure 38: Document Storage Management Setup
At any point, you can deactivate any of the existing active databases for archived documents. To do so, simply right-click the database name and choose ‘Deactivate Database’.
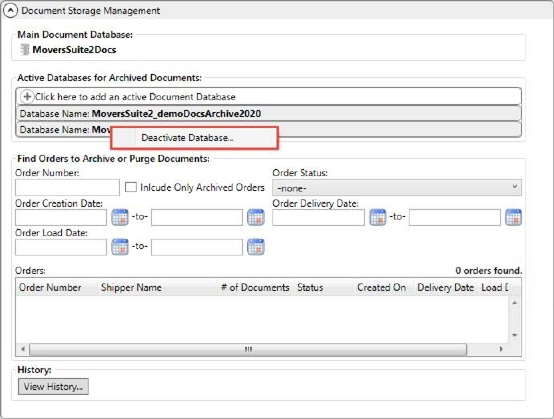
Figure 39: Document Storage Management Setup
You will be prompted with a warning that upon deactivating, the contents of this database will no longer be available for download.
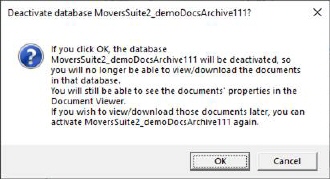
Figure 40: Deactivate Database prompt
However, the contents of such databases will still be available for viewing through the Document Management Viewer as they were, previously. The databases can be re-activated by an administrator and the documents of such orders will be available for download again.
To activate a database, use the “Click here to add an active Document Database” button and choose the “Activate Existing Database” option. Select the database from the dropdown and press ‘Add’.
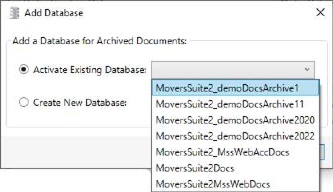
Figure 41: Add Database prompt
Select the database from the dropdown and press ‘Add’. The database is added to the list of active databases again.