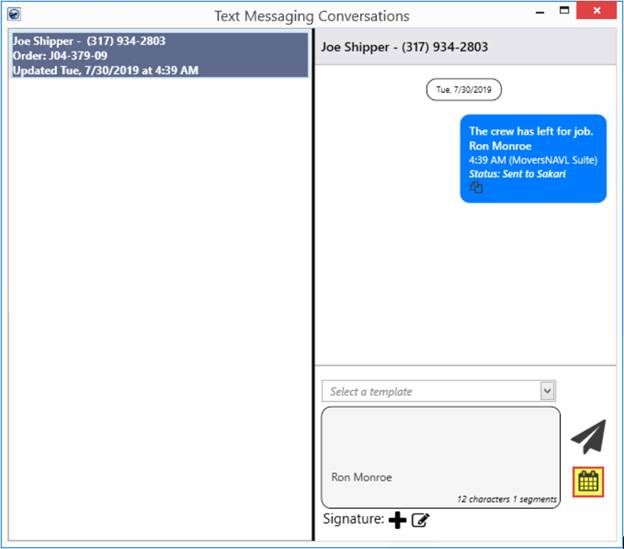
A text message can be scheduled through the Text Messaging Conversations screen which gives you the ability to add, edit, and delete scheduled text messages in a conversation with an existing contact. A background process monitors and sends scheduled text messages after an interval of 15 minutes.

Figure 29: Text Messaging Conversations screen
To schedule a
message, simply type the message in the text message body and click
the  icon to pop open the Schedule
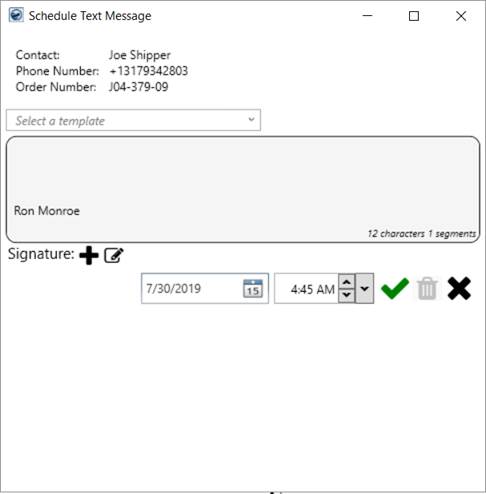
Text Message screen. This
screen displays the Contact Name, Phone Number, and Order Number along with the
option to let you choose a Template Message.

Figure 30: Schedule Text Message
The editable text message body is also displayed in this screen so you can edit and update the body of message or update the Edit Signature window as per your need.
Scheduling Options
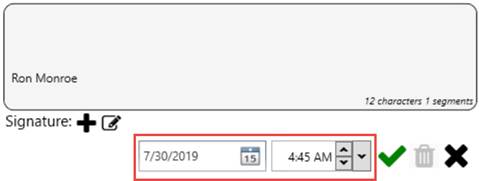
Once the body of the text message has been finalized, use the date and time pickers to schedule the message sending date and time. NOTE: You cannot select a date that is in the past.

Figure 31: Schedule Date and Time
Clicking
the  icon will save the message to be sent
at the scheduled date and time.
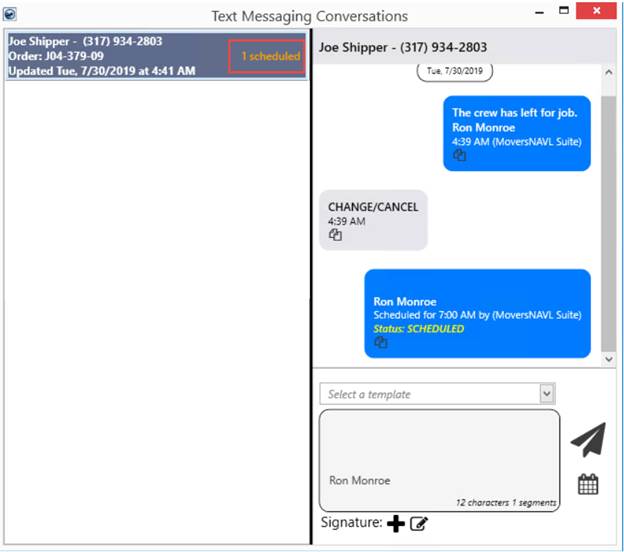
Conversations with scheduled messages include a Status of SCHEDULED along with text above it indicating the anticipated time of delivery.

Figure 32: Highlighted Scheduled Text Message
To
close the Schedule Text Message window without saving the changes,
press the  icon.
icon.
|
Note |
|
Messages can only be scheduled at intervals of 15 minutes by design. The API service also only polls for scheduled messages to send every 15 minutes. |
Once a message is scheduled, you can use the Scheduled Messages screen to make changes to the text of the message and update the date and time of anticipated delivery.