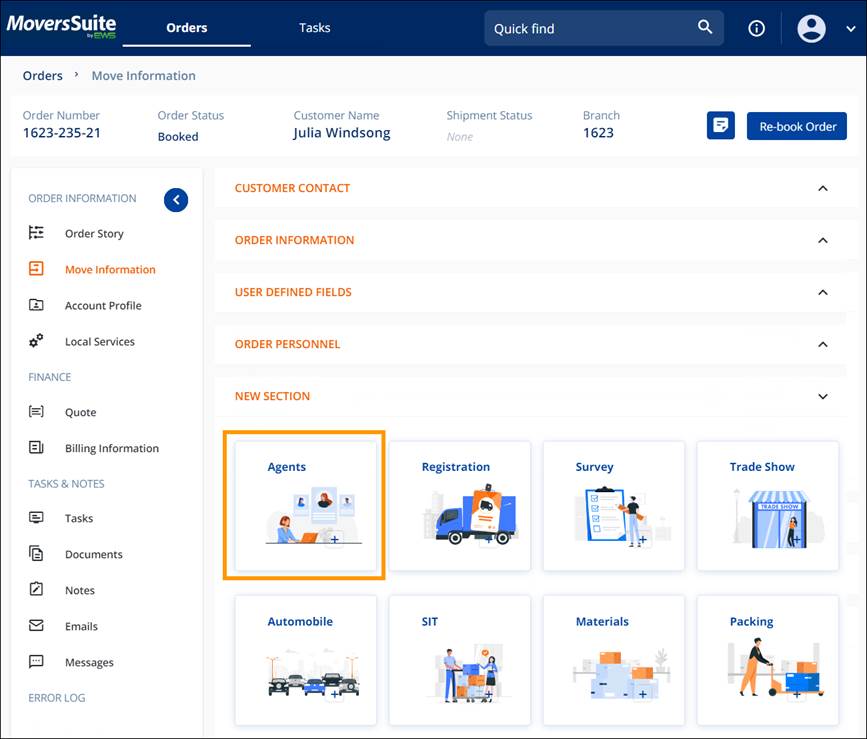
Order Story > Move Information > New Section or Agents
There are two ways to add an Agent to a transaction. One is for when this is the first Agent to be added to the order. The second is when on Agent is already on the order and another one needs to be added.
To add the first Agent, go to Order Story > Move Information > New Section and choose the AGENTS tile.

Figure 14: Agents Tile
Choose an agent type from the Agents screen.
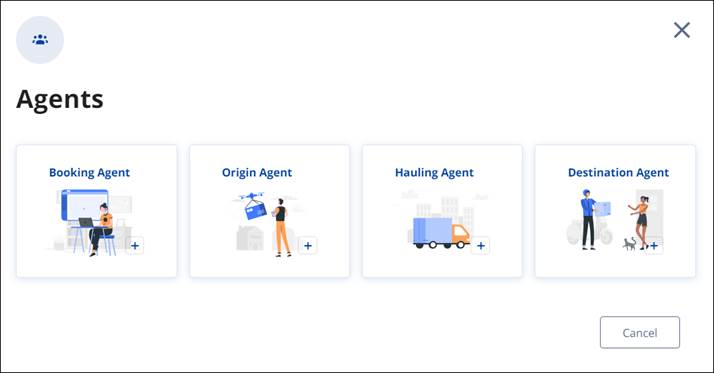
Figure 15: Agents Screen
Use the dropdown selector to scroll through the Agents and
click on the one you choose. For more information on the chosen Agent, click the
Information  icon. When an Agent is
chosen, their address, Contact, and Phone Number auto-populate. Click
Save.
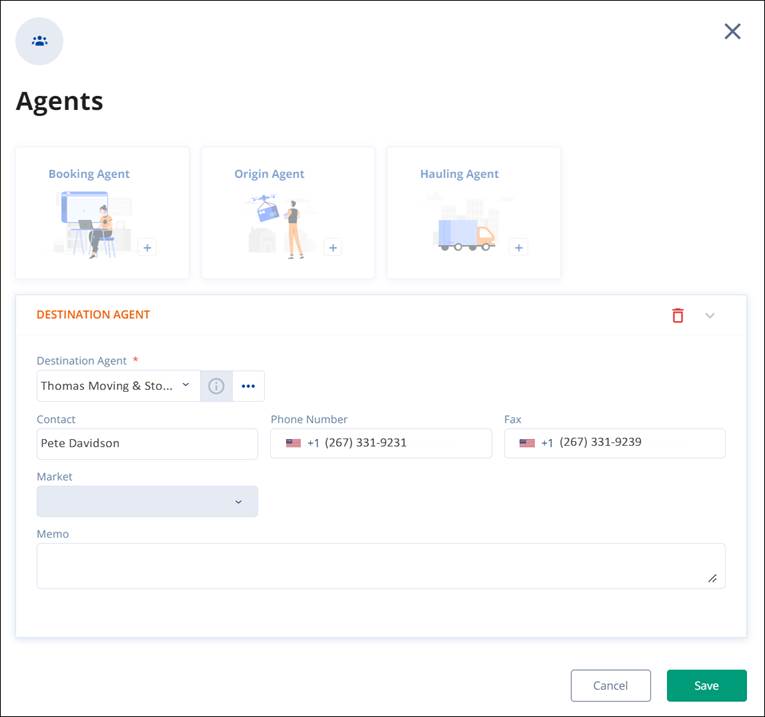
Figure 16: Agent Information Selector
To sort the Agents to allow for a more accurate Agent
selection, click the ellipses  . On the Find Agent card,
searches are available for each of columns. Enter any information or partial information
to show only those Agents meeting that criterion. Multiple sorts are possible,
as shown below. Choose and click on the Agent and it will populate the Agent
card. Click Save.
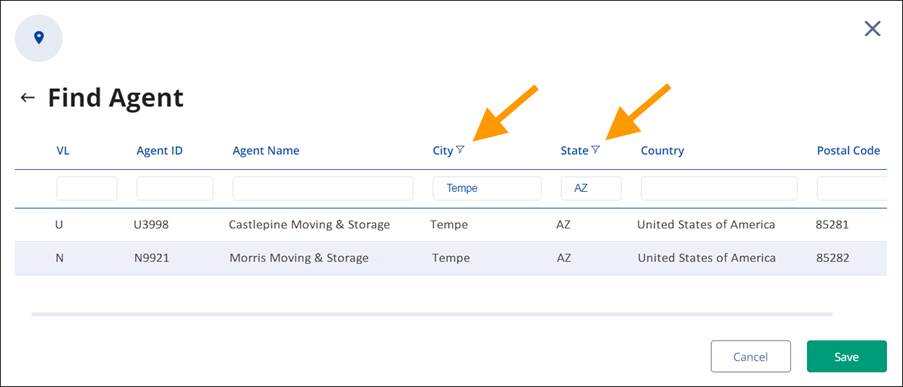
Figure 17: Find Agent Sort example
To Add Agent when an Agent is already assigned to the order, go to Order Story > Move Information > Agents. Since there is an agent assigned, the Agents tile will not be available under NEW SECTION. It has its own card under AGENTS. Simply click Add Agent and follow the above instructions for the remainder of the steps.
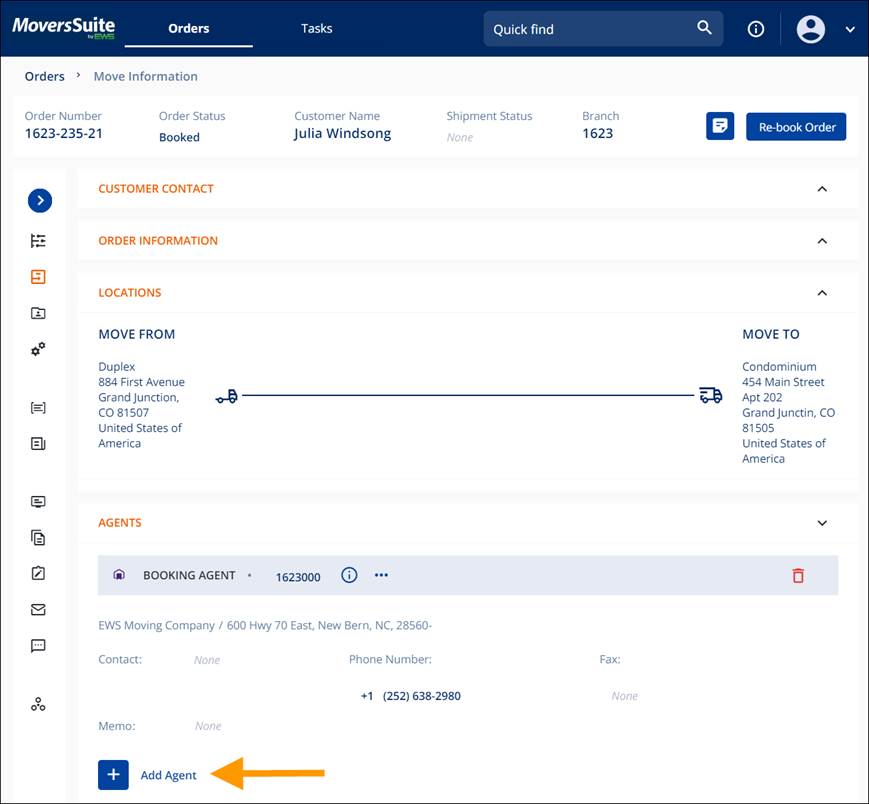
Figure 18: Add Agent
If you would like to change the Agent, click the Agent field to reveal the edit icon and click the field. A dropdown selector appears and scroll to find the new agent. Click the green check to save.
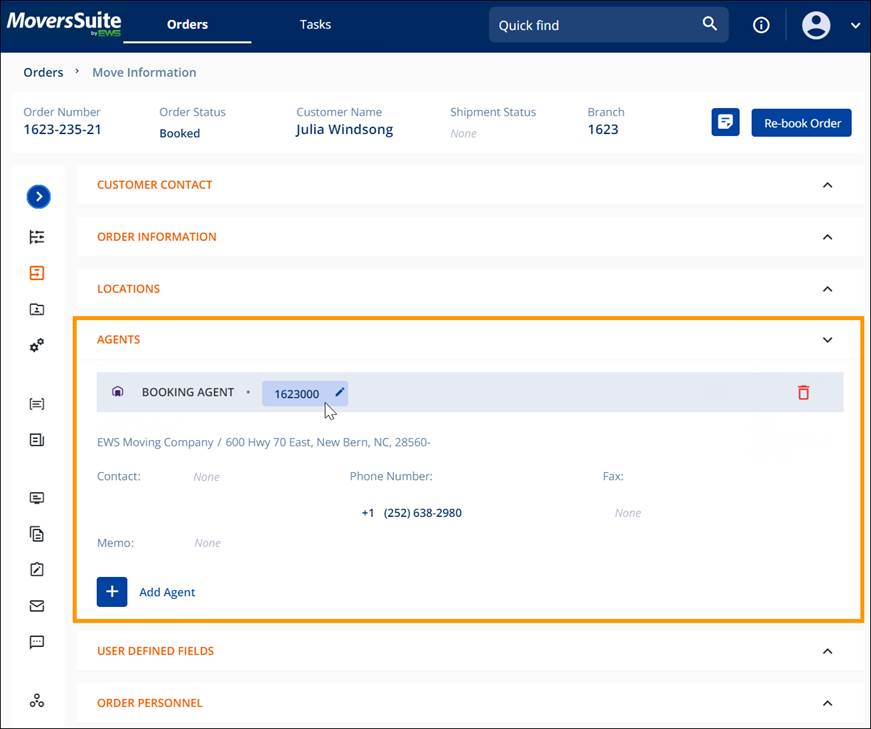
Figure 19: Changing the Agent